Orchids are among the most popular houseplants in the UK, and also among the most often lost to the wrong pot. The moth orchid sold in supermarkets and garden centres, Phalaenopsis, does not grow in soil in the wild: it clings to tree bark, with its roots in the air. That changes everything about the pot it needs.
This guide explains what makes a good orchid pot, the difference between the inner pot and the decorative pot around it, which sizes and materials work, how to water without drowning the roots, and when and how to repot. The advice applies to the common moth orchid; other orchids follow similar principles.
The short answer: two pots, not one
The simplest and most reliable set-up is a clear plastic growing pot with drainage holes, placed inside a decorative ceramic or glass pot, often called a cachepot or outer pot.
- The inner pot holds the bark mix, lets water drain away and, being clear, lets light reach the roots, which on moth orchids can photosynthesise.
- The outer pot is what you see. It hides the plastic, keeps the plant stable and protects your furniture from drips.
The outer pot should be just slightly wider than the inner one, with a small gap for air, and either have its own drainage hole or be emptied after each watering.
What size pot does an orchid need?
Orchids like to be snug. A pot that is too big holds too much wet bark around the roots, which leads to rot. Most supermarket moth orchids are sold in 12 cm pots, and that is usually the right size for the next year or two.
| Plant | Inner pot diameter | Outer pot opening | Notes |
|---|---|---|---|
| Mini moth orchid | 6–9 cm | 9–11 cm | Small bud-vase style pots work well |
| Standard moth orchid | 12 cm | 13–15 cm | The most common size |
| Large or multi-stem orchid | 14–15 cm | 16–18 cm | Choose a heavier outer pot for stability |
When you repot, go up by only 1 to 2 cm in diameter, and only if the roots really fill the pot.
Choosing the decorative outer pot
Ceramic
Glazed or matte ceramic is the classic choice: stable, easy to clean and available in every style. Look for one with a drainage hole, or be ready to tip out any water that collects at the bottom after watering.
Glass
A clear glass outer pot shows the roots and lets in even more light, which moth orchids appreciate. It also makes it easy to see when water has pooled at the bottom.
Woven and rattan
Baskets add warmth and texture. Use them with a saucer or a waterproof liner inside.

Round Ceramic Orchid Pot
8 × 4 cm
From24,90 €34 €

Glazed Ceramic Succulent Pot
Ø 8.3 cm · H 5.5 cm
From27,90 €38 €

Small Ceramic Pot with Drainage Hole
Ø 8.3 cm · H 5.5 cm
From25,90 €35 €

Matte Ceramic Planter with Drainage
Ø 9.2 cm · H 8.6 cm
From29,90 €40 €
Find more in our ceramic plant pots and indoor plant pots.
Drainage: the most important feature
Orchid roots need air as much as water. Water must drain away freely and never sit at the bottom of the pot. Whatever outer pot you choose:
- keep the inner pot raised slightly, on a few pebbles or a small spacer, if the outer pot has no hole;
- check the bottom of the outer pot 15 minutes after watering and pour away any water;
- never leave the orchid standing in water for hours.

Woven Straw Hanging Planter
H 10–12 cm
From19,90 €27 €

Macramé Jute Hanging Basket
20 × 14 × 12 cm
28,90 €39 €

Wooden Plant Stand
L 14–20 cm · W 9 cm
From42,90 €58 €

Metal Plant Stand
Ø 24 cm · H 13 cm
From38,90 €52 €
Bark, not soil
Ordinary potting compost stays too wet and too dense for epiphytic orchids. Use a specialist orchid mix based on bark chunks, sometimes with a little perlite, charcoal or sphagnum moss. The coarse texture keeps air around the roots and lets water run through.
How and when to repot an orchid
- When: every one to two years, after flowering, or when the bark has broken down and smells musty.
- Remove the plant: gently squeeze the plastic pot and ease the orchid out.
- Clean the roots: shake off the old bark. Firm, silvery or green roots are healthy; soft, brown, hollow ones can be trimmed with clean scissors.
- Repot: place the orchid in a clean pot of the same or slightly larger size and fill around the roots with fresh bark mix, tapping the pot so it settles.
- Wait to water: leave it for a few days so any damaged roots can heal.
Where to place an orchid
Moth orchids like bright, indirect light: an east-facing windowsill is ideal, or a few steps back from a south or west window. Avoid direct midday sun, which scorches the leaves, and keep them away from radiators and cold draughts. A kitchen or bathroom with good light suits them well, thanks to the humidity.
A plant stand can lift an orchid closer to the window, and a hanging planter frees up the windowsill.
Watering and feeding through the year
Getting the water right matters as much as the pot. The aim is to let the roots almost dry out between waterings, then soak them thoroughly.
| Season | Watering | Feeding | What to watch |
|---|---|---|---|
| Spring | About once a week | Weak orchid feed every second watering | New leaves and roots appear |
| Summer | Once a week, sometimes more in hot weather | Weak feed every second watering | Too much direct sun on the windowsill |
| Autumn | Every 7 to 10 days | Reduce | A slight drop in night temperature helps new flower spikes |
| Winter | Every 10 to 14 days | Little or none | Cold windows and radiators |
The roots tell you when to water: silvery-grey means dry, bright green means the plant still has water. In a clear inner pot, this is easy to check at a glance.
Getting an orchid to flower again
Most moth orchids flower for two to three months, then rest. They can rebloom every year with a little care:
- When the last flower drops, cut the flower spike just above the second node below the old flowers, or at the base if it has turned brown.
- Keep the plant in bright, indirect light and continue watering as usual.
- In autumn, a few weeks of slightly cooler nights, around 15 to 18 °C, encourage a new spike.
- Do not move the plant once a new spike appears: the buds can drop with a sudden change of light or temperature.
Displaying orchids beautifully
The decorative pot is your chance to make an orchid part of the room. A single white orchid in a matte ceramic pot looks calm and elegant on a kitchen windowsill. Three mini orchids in matching small pots make a lovely line on a bathroom shelf. A taller orchid in a heavier pot can sit on a plant stand beside a window. Match the pot to the room: soft neutrals for calm spaces, glazed or hand-painted pots to add colour.

Iron Plant Stand with Saucer
23 × 23 × 11.5 cm
From30,90 €42 €
Watering an orchid in a decorative pot
Most orchid problems come from watering. The decorative outer pot makes the plant look beautiful, but it can hide standing water at the bottom. The soak-and-drain method avoids that.
The soak-and-drain method, step by step
- Lift out the inner pot. Take the clear plastic pot out of the decorative pot.
- Soak it for 10 to 15 minutes in a bowl of lukewarm water, so the bark absorbs moisture.
- Let it drain fully in the sink for at least 10 minutes. No water should drip when you lift it.
- Put it back in the decorative pot and check after an hour that no water has collected at the bottom.
In most homes, this means watering every 7 to 10 days, less in winter. The roots tell you when: silvery-green roots are thirsty, bright green roots have enough water.
Light and temperature
Moth orchids like bright, indirect light, such as an east-facing windowsill or a spot a little back from a south window. Avoid direct midday sun, which scorches the leaves, and cold draughts in winter. Daytime temperatures of 18 to 25 °C suit them well.
Choosing a decorative pot for your orchid
| Outer pot | Look | Good to know |
|---|---|---|
| Glazed ceramic | Colourful, shiny, classic | Check regularly for water at the bottom |
| Clear glass | Shows the roots, modern | Lets light reach the roots; clean it often |
| Woven basket | Natural, airy | Not watertight: water the orchid in the sink |
| Small handmade pot | Unique glaze | Perfect for mini orchids |
For a mini orchid, a small handmade ceramic orchid pot is ideal. For a full-size orchid, a woven straw hanging planter lets air reach the roots, and a plant basket hides a plain plastic pot with a natural texture. Browse all our indoor plant pots and ceramic plant pots.
Round Ceramic Orchid Pot
8 × 4 cm
From24,90 €34 €
Woven Straw Hanging Planter
H 10–12 cm
From19,90 €27 €

Natural Wicker Plant Basket
Ø 18 to 25 cm
From26,90 €36 €
Matte Ceramic Planter with Drainage
Ø 9.2 cm · H 8.6 cm
From29,90 €40 €
Where to display an orchid
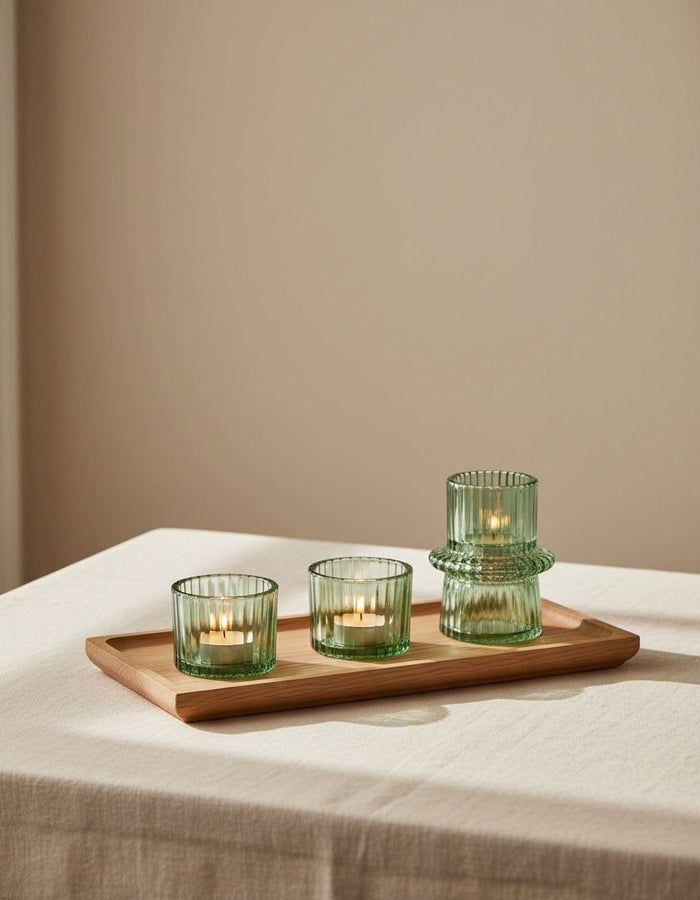
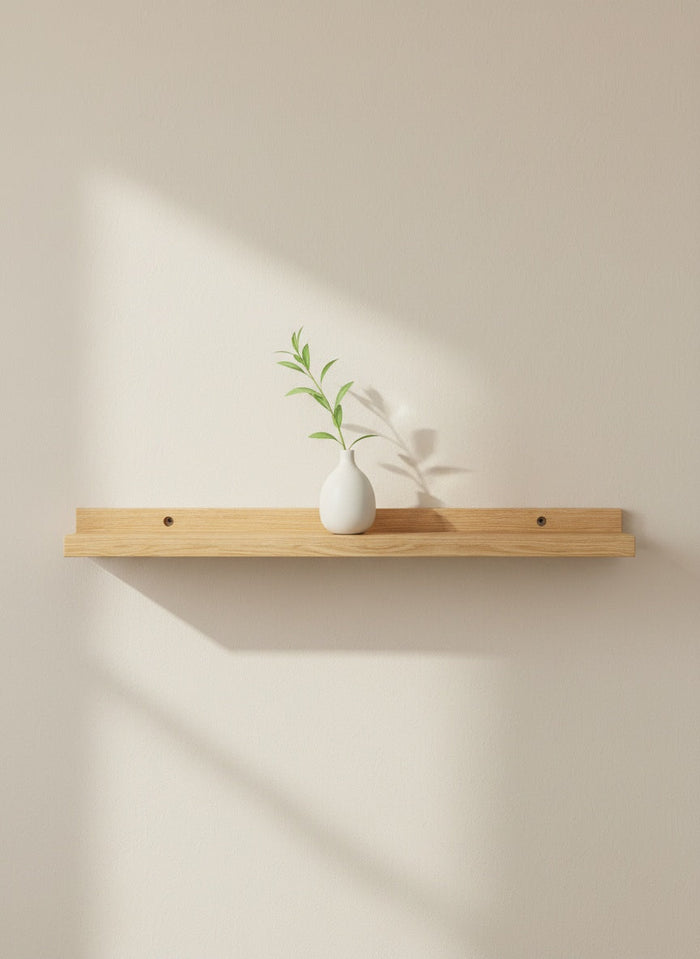
An orchid in flower deserves a place where it can be seen: a dining table for a few days, a desk near a window, or a bathroom with good light, where it enjoys the humidity. Group it with a bud vase or a candle on a tray for a calm still life, and see our decor gift ideas: an orchid in a beautiful pot is a classic present. For shelves to display plants, read how to hang a wall shelf.
Repotting an orchid, step by step
- Wait until flowering is over, ideally in spring.
- Ease the plant out of its pot, gently loosening the old bark.
- Trim the roots: cut away soft, brown or hollow roots with clean scissors; keep firm green and silver ones.
- Choose the new inner pot, only 1 to 2 cm wider, clear and with drainage holes.
- Fill with fresh orchid bark, settling it around the roots without packing it tightly.
- Wait a few days before the first watering to let any damaged roots heal.
Common orchid pot mistakes
- Planting directly in a decorative pot with no drainage.
- Using ordinary compost instead of orchid bark.
- Choosing a pot that is much too big.
- Leaving water standing in the outer pot after watering.
Avoid these, and a moth orchid can flower again every year for many years.
Common mistakes
- A pot that is too big: extra wet bark leads to root rot.
- No drainage: water collecting at the bottom is the main cause of losses.
- Normal compost: always use orchid bark.
- Watering too often: once a week in summer and every ten to fourteen days in winter is usually enough; let the bark dry slightly between waterings.
- Cutting healthy aerial roots: roots that grow outside the pot are normal; leave them.
For more on pots and placement, see our plant pots collection.
Frequently asked questions
Do orchids need special pots?
Moth orchids grow best in a clear plastic pot with plenty of drainage holes, because their roots need air and light. Place that inner pot inside a decorative ceramic or glass outer pot: you get the look you want while the roots stay healthy and the water can drain away.
What size pot for an orchid?
Most moth orchids are happy in a 12 cm inner pot, slipped into an outer pot of 13 to 15 cm. When repotting, go up by only 1 to 2 cm: orchids like to feel snug, and too much bark around the roots stays wet for too long.
Can I put an orchid in a pot without a drainage hole?
Only as an outer pot. Keep the orchid in its draining inner pot, water it in the sink, let it drain fully, then put it back. Check after watering and empty any water that collects at the bottom, as standing water quickly rots orchid roots.
How often should I repot an orchid?
Every one to two years, ideally after flowering, or sooner if the bark has broken down and stays soggy. Use fresh orchid bark, trim any soft or dead roots, and choose an inner pot only slightly larger than the old one.